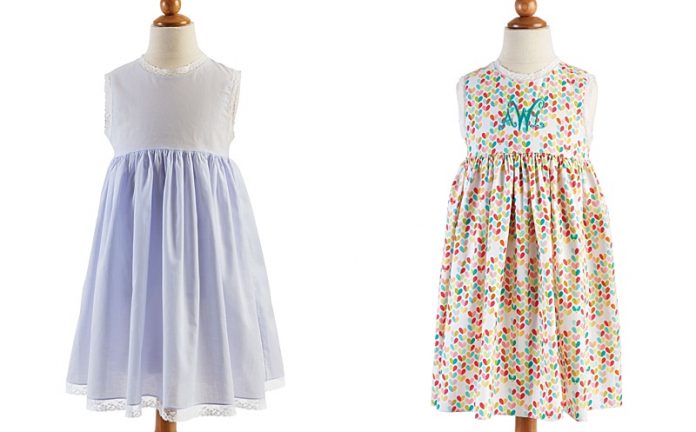
What could be more traditional than a beautiful slip under a gorgeous dress?
This quick-to-sew slip is very simple when using your serger to attach lace, sew seams, and serge plackets. Once you have your pattern, you can make adorable sundresses, too! Select light- to medium-light weight fabric, such as batiste, broadcloth, or quilting cotton. Your slips will be pretty enough to wear alone! Be creative with monograms, trims, and fabric. By adapting a bodice pattern, you can have a perfectly matched slip for every dress in a few short minutes.
Adapting the pattern
- Remove the seam allowance from the neck and arm opening of your dress pattern plus the following:
- If using 5/8-inch lace, also remove 1/2 inch.
- If using 1/2-inch lace, also remove 3/8 inch.
Example: If my pattern has a ¼” seam allowance at the neck/arm opening and I’m using 5/8-inch lace, I would remove ¼” + ½” = ¾” from the neck and arm opening.
- If the bodice back has two fold lines, remove the first one.
- Trace the new patterns and label as “Slip Front Bodice” and “Slip Back Bodice.”
- We will use a 40-inch width for each, slip skirt front and the slip skirt back. You will want the slip to be about 1 to 2 inches shorter than the dress. To figure the slip skirt length use the dress skirt length with adjustments.
If the dress has a hem: Use the dress skirt length minus the hem, now subtract 2 additional inches. If you are planning on hemming your slip, just subtract the 2 inches.
If the dress has a ruffle: Add ruffle length to the dress skirt length, subtract the seam allowances (skirt to ruffle) and subtract 2 additional inches.


